The 404 Redirects Dashboard is another page from Lost & Found. It shows a new table with all 404ing URLs that already have a redirect.
Old URL

It is the original URL, that leads to a 404 page.
Set Up A Redirect
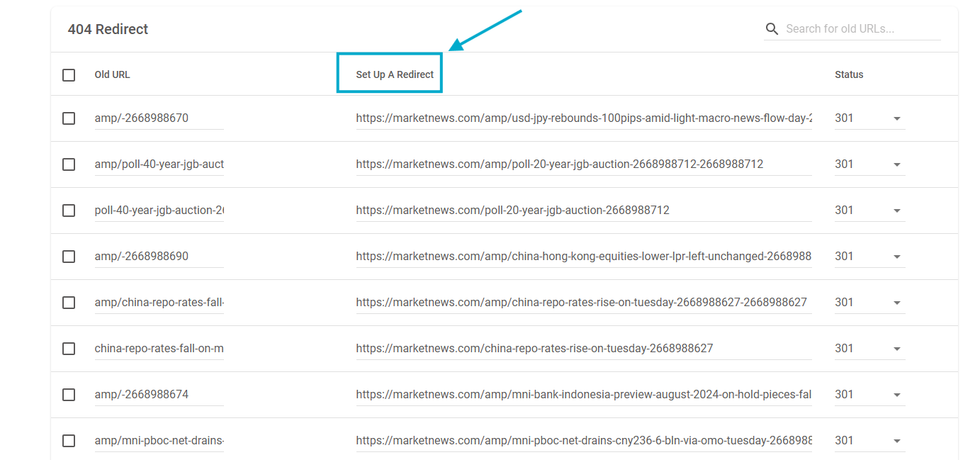
It shows the redirected URL, the final destination the users will be after the redirect is set.
Status
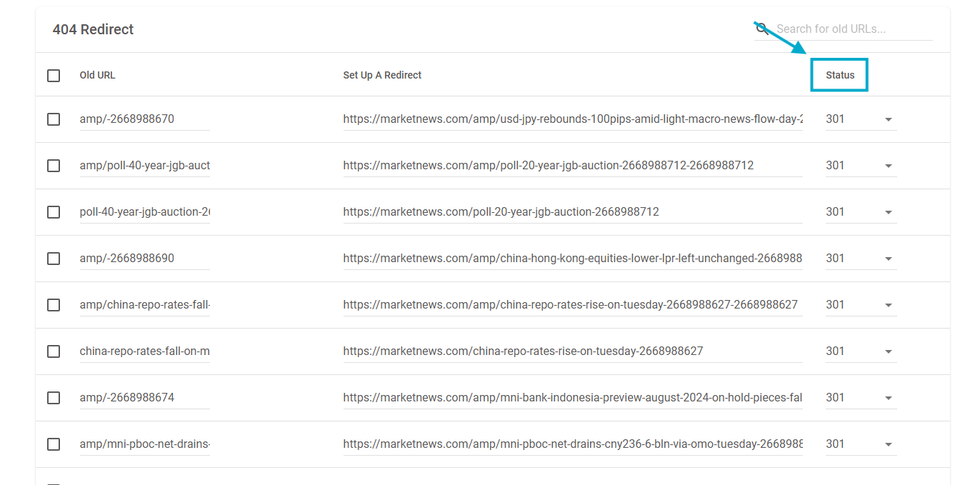
It is a dropdown that shows the option to make the redirect a permanent one (with 301 status) or a temporary one (with 302 status).
Add new Redirect
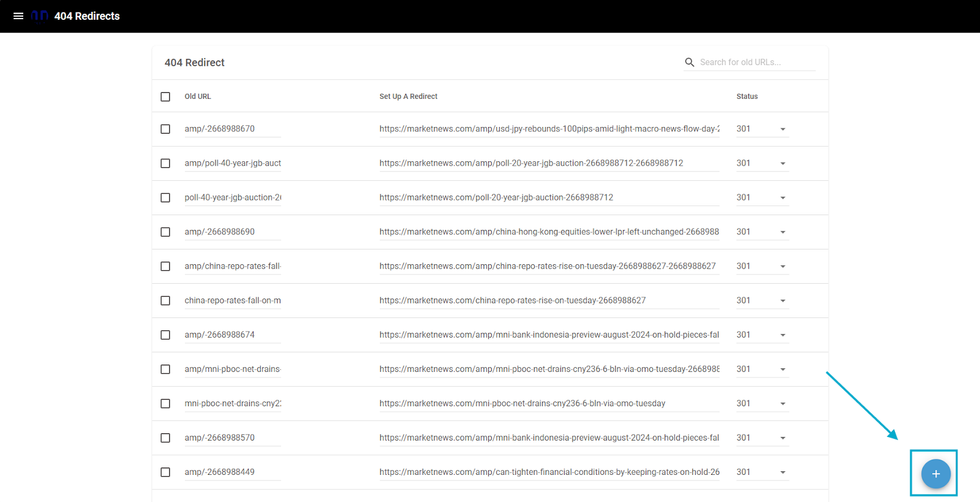
To add a new redirect on the 404 Redirects Dashboard, you need to click on the “+” button at the bottom right corner of the page
Redirect Details
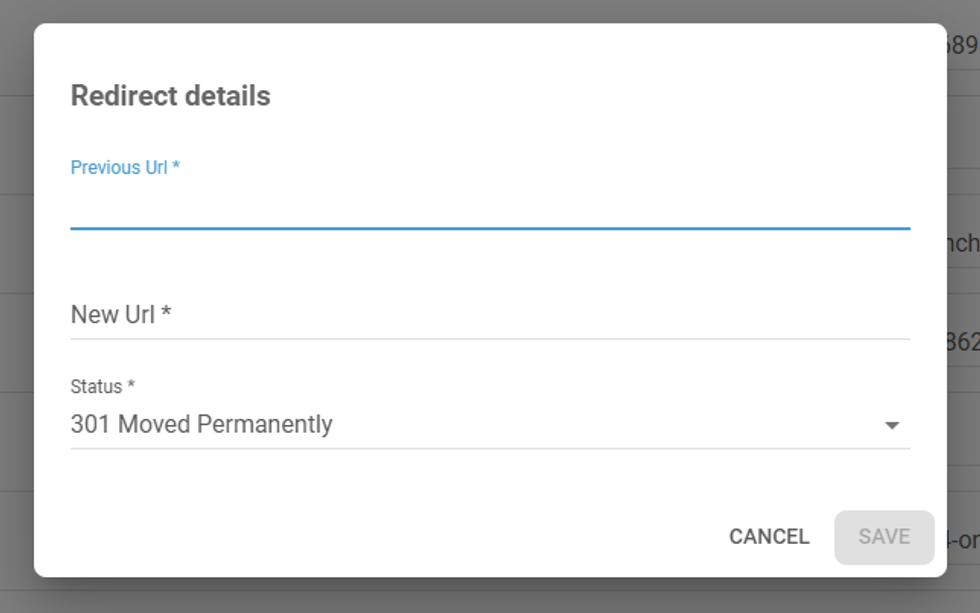
Once clicked, a pop-up with 3 fields will appear for you to complete them:
Previous URL: the current URL that leads to a 404 page.
New URL: another URL you want to redirect your users.
Status: It can be moved permanently (301) or temporarily (302).
Once fulfilled, click on Save, and the redirect will be set.
Filter and Pagination
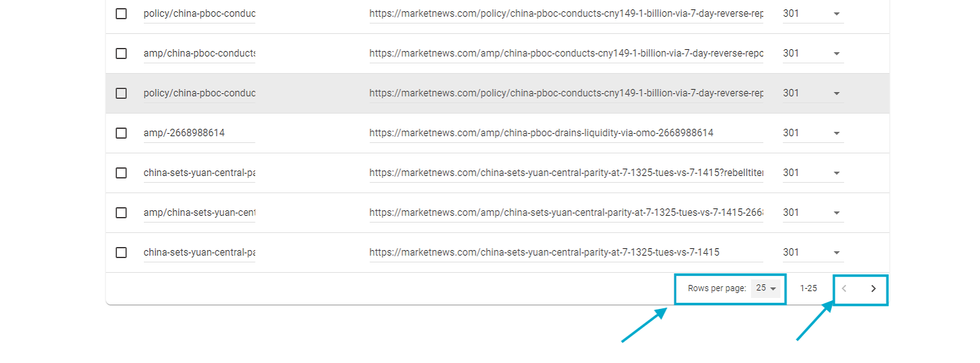
At the bottom of the table, you will find the Rows per page option. By default, it will be set at 25, but you can add other amounts by clicking the dropdown near the number.
You can set it to other amounts, such as 10, 25, 50, or 100 posts on the same page.
Next to the Rows Per Page, you can see the buttons to navigate to the next page or previous page.
Search
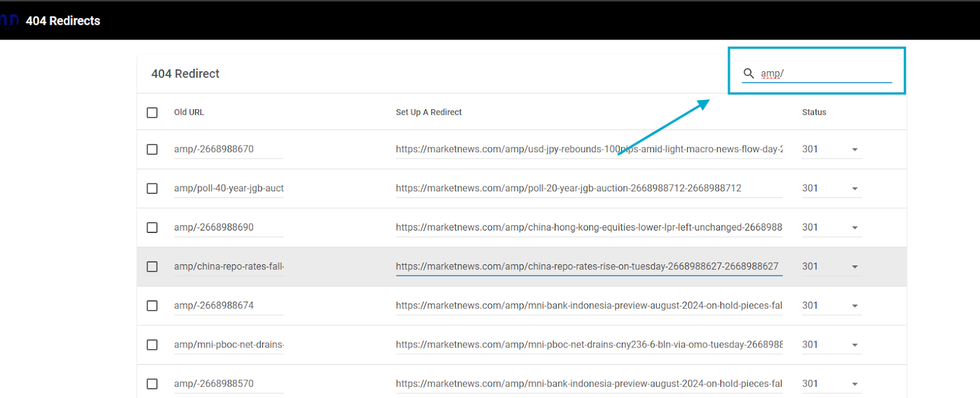
At the top right of the table, you will see a search box. On this search box, any word placed there will be counted as used to search redirects that have this word on the Old URL or the Redirect.
For example, if you search for amp, the search will show you results that have the amp on the Old URL first, then results that have the amp on the Redirects.
You can also search for post IDs, section pages, tag pages, author pages, etc. They will be shown if, at least, they have a redirect from or to this page.
Table of Contents


© 2025 RebelMouse. All rights reserved.
Comments Moderation Tools