If your business relies on ad revenue, the article page is a key asset, driving views and keeping audiences engaged on your site. RebelMouse's Ad Manager dashboard offers streamlined functionality, allowing you to easily swap ads, adjust placements, and experiment with various configurations, all without needing technical support. This gives you exceptional control over your revenue strategy.
Access the Ad Manager Dashboard
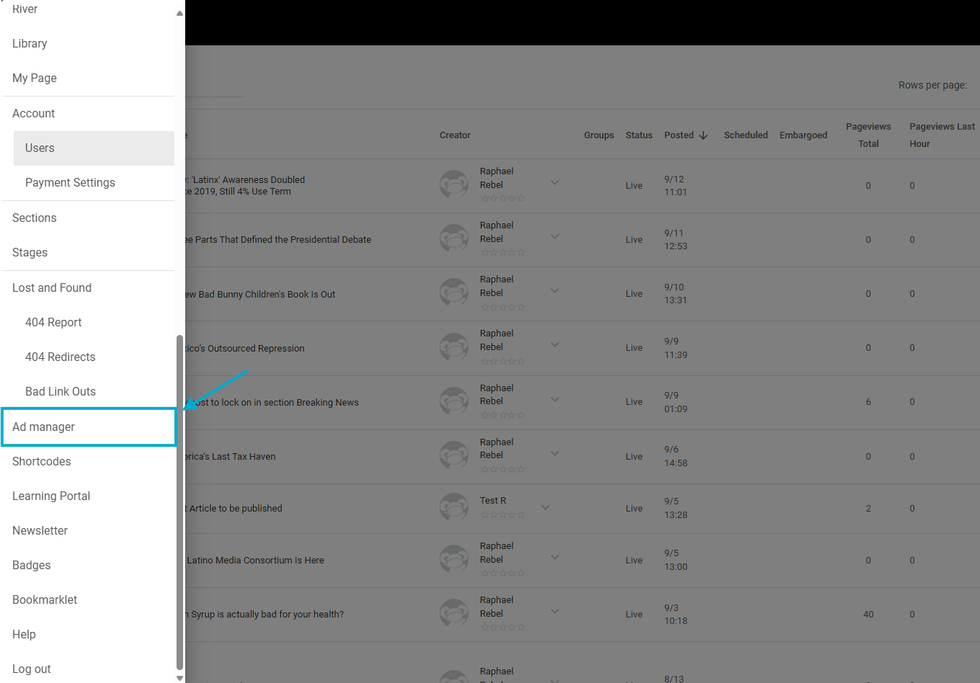
To access the Ad Manager, open the left-hand hamburger menu (☰) and select Ad Manager.
Alternatively, you can type "{YourDomain}/core/dashboard/a_manager" in your browser's address bar.
Inside Ad Manager: Tools
- Ad Header Code
- Ads Before Body: The Article Before Body section is where you want to add an ad tag to serve ads at the beginning of your articles, before the start of any content.
- Ads After X Words: Ads after X words allow you to set ads to automatically appear after a certain number of words in your articles.
- Ads in Assembler: The Ads in Assembler option allows you to set ads that will automatically appear after a certain number of Assembler items in your articles.
- Ads Authorized Seller: Ads.txt stands for "Authorized Digital Sellers," and is a simple, flexible, and secure method that publishers and distributors can use to publicly declare the companies they authorize to sell their digital inventory.
Optimal Scenarios for Using Ad Manager
The Ad Manager is focused on managing Ads globally. Most focused on articles, and many tools set automatic ad divs across your article, such as before the body text, between the body text, and between Assembler elements.
If you also need to add another kind of ad divs, for example, a header ad, a sticky ad, a right rail sticky ad, the Layout & Design Tool will be preferable, as it has the flexibility to create new ad divs wherever you want on your site.


© 2025 RebelMouse. All rights reserved.
Comments Moderation Tools