When we launched our Assembler, our goal was to make it a snap to create one of the most popular content formats on the web. Assemblers are eye-catching, easy to read, and — most importantly — users love to share them. Here is an overview of the Assembler's main features, including ad integrations.
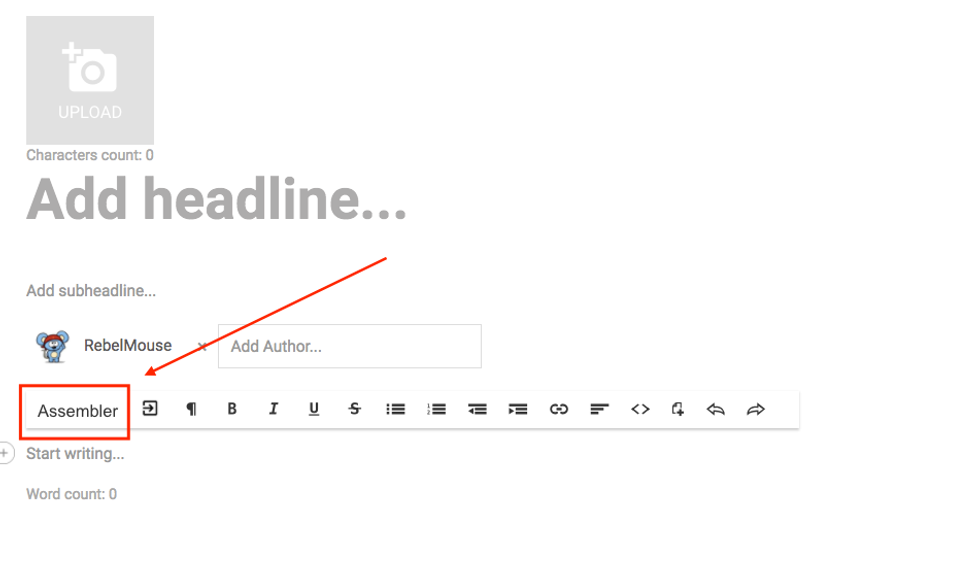
Access Assembler from Entry Editor:
Pagination
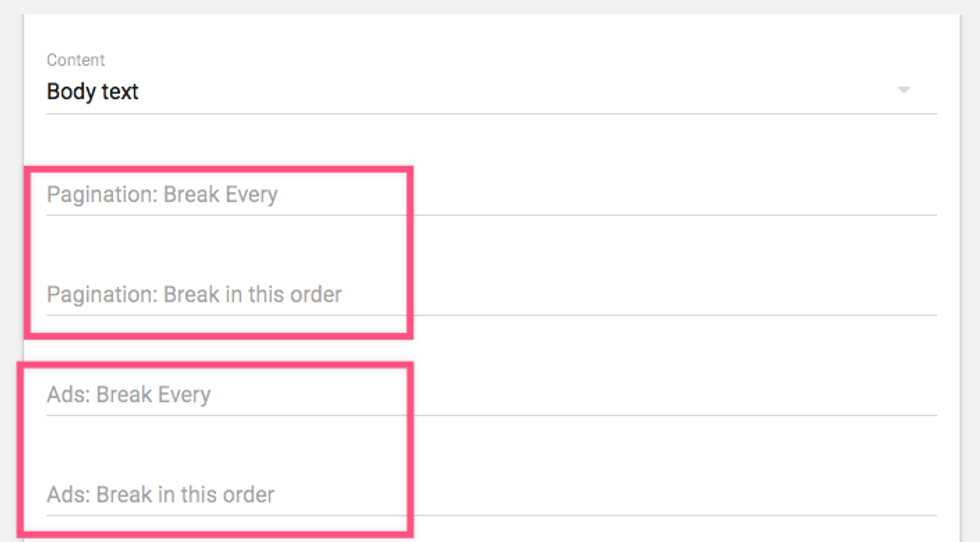
You can break your particle into pages, and decide how many items should show up per page. And if you have a particular use case where you don't want to split up your items evenly between pages, you have the flexibility of defining the exact division.
Ads
How ads are inserted between each item in your listicle follows the same logic as Pagination. For example, you could have your ads:
- Break every item. This would display as follows: item, ad, item, ad, item, ad, etc.
- Break in a specific order. If we chose "2,3,4,1," it would display as follows: two items, ad, three items, ad, four items, ad, item, ad.
Numeration
You can have your listicle appear as either a numerated list sorted ascending/descending, or a non-numerated list.
Body Text
This allows you to define where you want your text to show up, which can be either above or below your media.
Customize
You can further customize your Assembler with our Layout & Design tool. This includes:
1. Setting up Global Settings for it, so you only have to choose pagination, ad tags, text position, and numeration once instead of per Assembler in Entry Editor every time you use the Assembler.
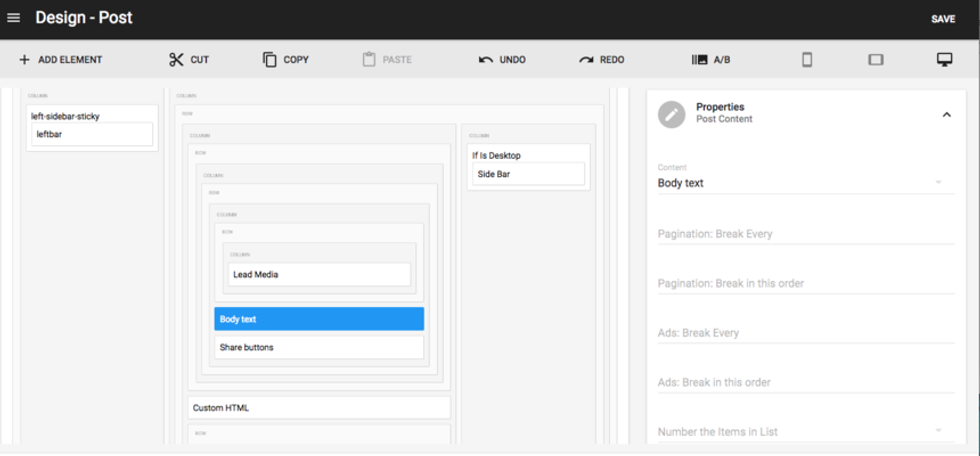
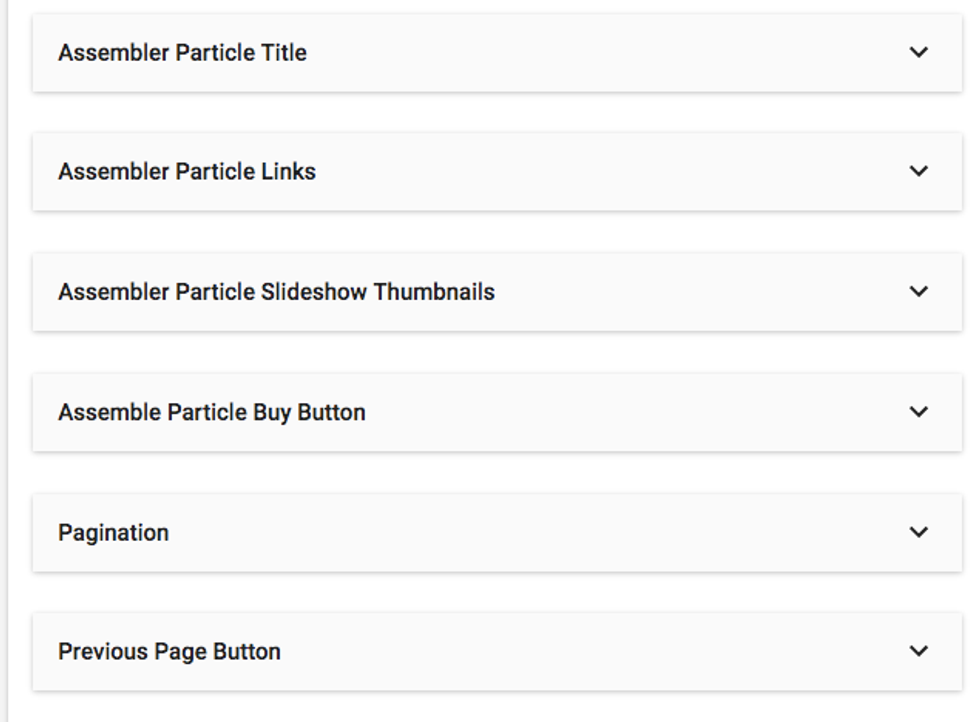
2. Applying custom CSS to the elements in Assembler. You can do this by going to the Post page, selecting the Body element, and then clicking on the Styles card:
In your RebelMouse site, you have the option to enable asynchronous Assembler pages.
This makes for a much better user experience because:
- You avoid a page reload (which means less waiting time for users, and it produces a faster view of the article).
- Users aren't taken to the top of the page again, so they don't have to scroll back down to the newly loaded item to continue reading.
- It's AJAX driven, so each time the user clicks on "Next Page," the items reload much faster than regular, non-asynchronous particle.
- Asynchronous configuration in your site allows your ads to be refreshed whenever the URL changes.
Awesome! How Do I Enable This?
If you want to set up your site to have AJAX-driven Assembler elements and do asynchronous loading by default, please contact your RebelMouse Account Manager — we'll enable it for you in our backend.
OK, and How Can I Enable My Ads to Reload?
Setting up ads to refresh with each page a user clicks through in the listicle is simple with the Layout & Design tool. Please note that we only support DoubleClick for Publishers at the moment.
Here are the step-by-step instructions:
1. Set up Google DFP asynchronous loading in your Ad Header Code/Header Code element. (It's usually located in the Top Bar.) Replace this:
<script type='text/javascript'>
(function() {
var useSSL = 'https:' == document.location.protocol;
gads.src = (useSSL ? 'https:' : 'http:') +
'//www.googletagservices.com/tag/js/gpt.js';
var node = document.getElementsByTagName('script')[0];
node.parentNode.insertBefore(gads, node);
})();
</script>
With this:
<script type='text/javascript'>//
Load GPT asynchronouslyvar googletag = googletag ||
 {}; googletag.cmd = googletag.cmd ||
[];(function() {var gads = document.createElement("script");
gads.async = true; gads.type = "text/javascript";
var useSSL = "https:" == document.location.protocol;
gads.src = (useSSL ? "https:" : "http:") +"//<a href="<a%20href=" http:="" target="_blank">www.googletagservices.com/tag/js/gpt.js</a>" target="_blank" rel="noopener noreferrer"><a gpt.js="" href="http://<a%20href=" http:="" js="" rel="noopener noreferrer" tag="" target="_blank" www.googletagservices.com="">www.googletagservices.com/tag/js/gpt.js</a>" target="_blank" rel="noopener noreferrer"><a gpt.js="" href="http://<a%20href=" http:="" js="" rel="noopener noreferrer" tag="" target="_blank" www.googletagservices.com="">www.googletagservices.com/tag/js/gpt.js</a>" target="_blank" rel="noopener noreferrer">https://www.googletagservices.com/tag/js/gpt.js" target="_blank">www.googletagservices.com/tag/js/gpt.js";
var node = document.getElementsByTagName("script")[0]; node.parentNode.insertBefore(gads, node);})(); </script>
2. Find the Custom HTML or Ad Tag elements that have the ad tags that you wish to reload with each listicle item. You should replace this code:
googletag.defineSlot('/1771250/7x7_728x90_RestOfSite', [[300, 50], [320, 50], [728, 90], [320,80]], 'div-gpt-ad-1459967663958-3').defineSizeMapping(mapping_leader).addService(googletag.pubads()); googletag.defineSlot('/1771250/7x7_728x90_RestOfSite_2', [[728, 90], [320, 50], [300, 50], [320, 80]], 'div-gpt-ad-1462241457054-6').defineSizeMapping(mapping_leader).addService(googletag.pubads());
With this:
var googletag_refresh_slots = googletag_refresh_slots || [];var refresh_slot1 = googletag.defineSlot('/1771250/7x7_728x90_RestOfSite', [[300, 50], [320, 50], [728, 90], [320,80]], 'div-gpt-ad-1459967663958-3').defineSizeMapping(mapping_leader).addService(googletag.pubads()); googletag_refresh_slots.push(refresh_slot1); var refresh_slot2 = googletag.defineSlot('/1771250/7x7_728x90_RestOfSite_2', [[728, 90], [320, 50], [300, 50], [320, 80]], 'div-gpt-ad-1462241457054-6').defineSizeMapping(mapping_leader).addService(googletag.pubads()); googletag_refresh_slots.push(refresh_slot2);
3. And if the following line of code is included in your tags, please remove it. (It's called sync rendering.) It might not apply to your site, but please do check for it.
googletag.pubads().enableAsyncRendering();
If you have any questions about ads in the Assembler, contact your account manager today.


