There are 3 tabs for Badges: Posts, Sponsored Posts and Profile.
Posts Badges
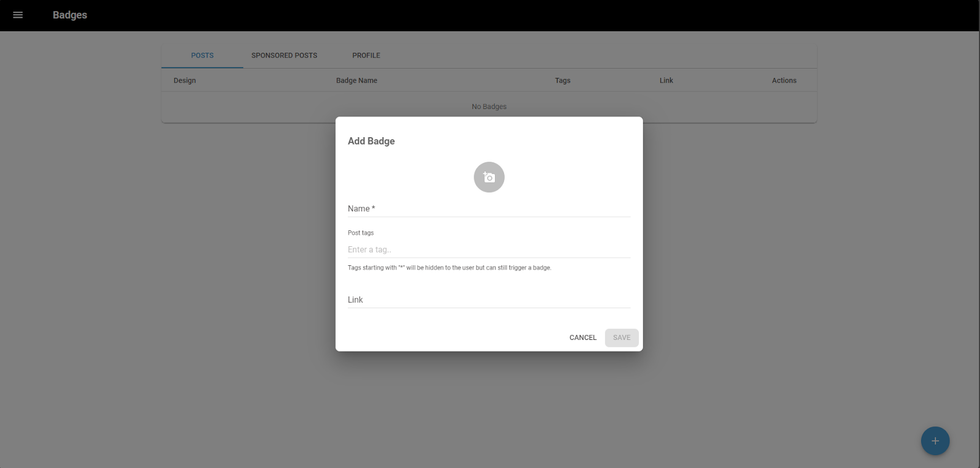
To create a post badge, click the “+” button at the bottom of the dashboard.
Next, a popup will appear with some fields to be fulfilled to add a new badge:
- Camera Icon: upload a badge image
- Name: the name of the badge
- Post tags: tags that can trigger and assign this badge to a post
- Link: a link that can redirect users who click on the badge
When assigning post tags for the badge, consider the tags you commonly use to organize content, like "trending" or "quarterly update."
Sponsored Badges
Similarly with the Posts badges, the Sponsored Posts is a tab to relate the badges for sponsors you will allow on your site. You can create the badge and assign it to any post that might be sponsored.
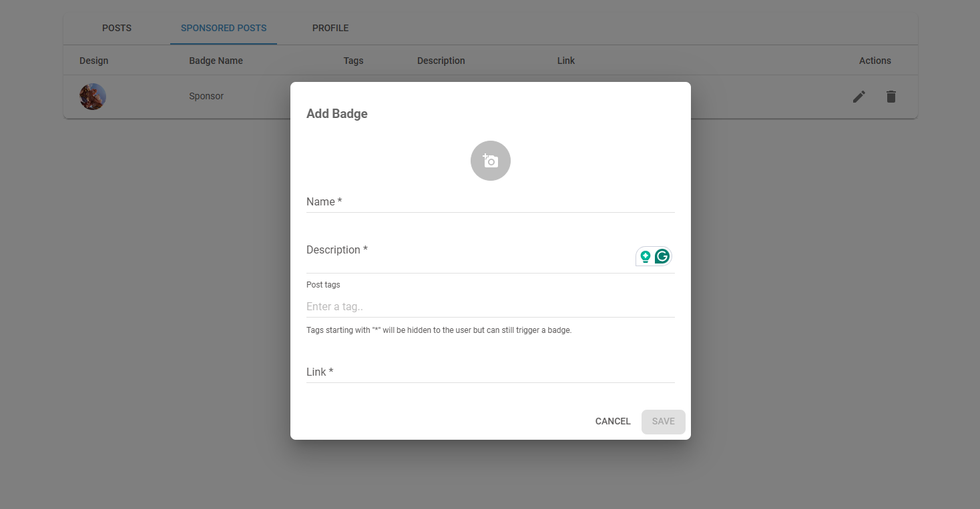
To create a post badge, click the “+” button at the bottom of the dashboard.
Next, a popup will appear with some fields to be fulfilled to add a new badge:
- Camera Icon: upload a badge image
- Name: the name of the badge
- Description: a quick description of the badge, such as more about the sponsor
- Post tags: tags that can trigger and assign this badge to a post
- Link: a link that can redirect users who click on the badge
Profile Badges
Quite similar to the other badges, the Profile Posts is a tab to relate the badges for authors that publish on your site, if you want to get a partnership with other writers.
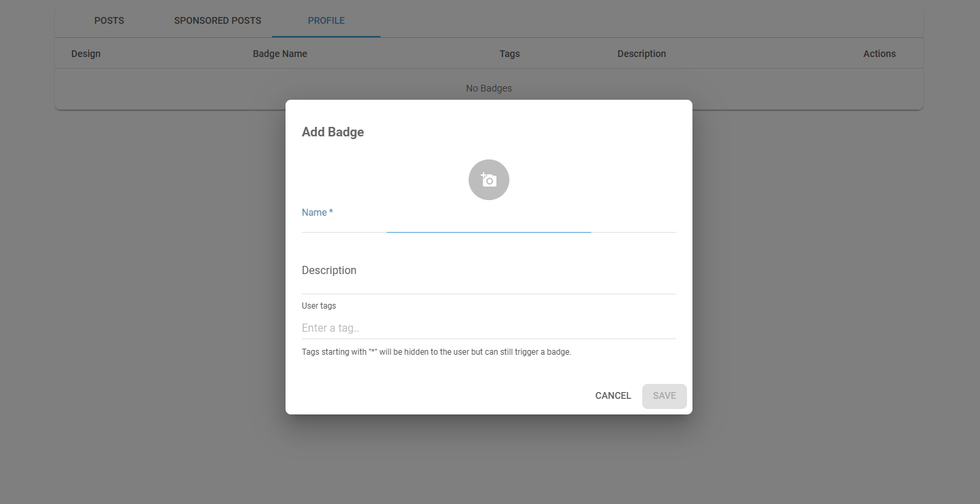
To create a post badge, click the “+” button at the bottom of the dashboard.
Next, a popup will appear with some fields to be fulfilled to add a new badge:
- Camera Icon: upload a badge image
- Name: the name of the badge
- Description: a quick description of the badge, such as more about the sponsor
- Post tags: tags that can trigger and assign this badge to a post
Deleting Badges
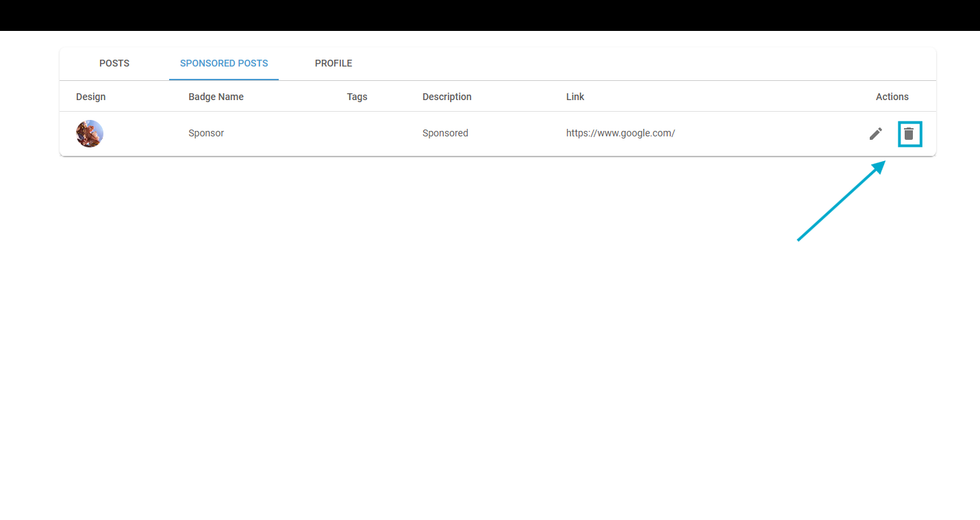
To delete a badge, click the “Trash” button on the badge you want to delete. Once deleted, all the posts that were assigned with this badge will have the badge removed and not replaced with another one.
Showing Badges
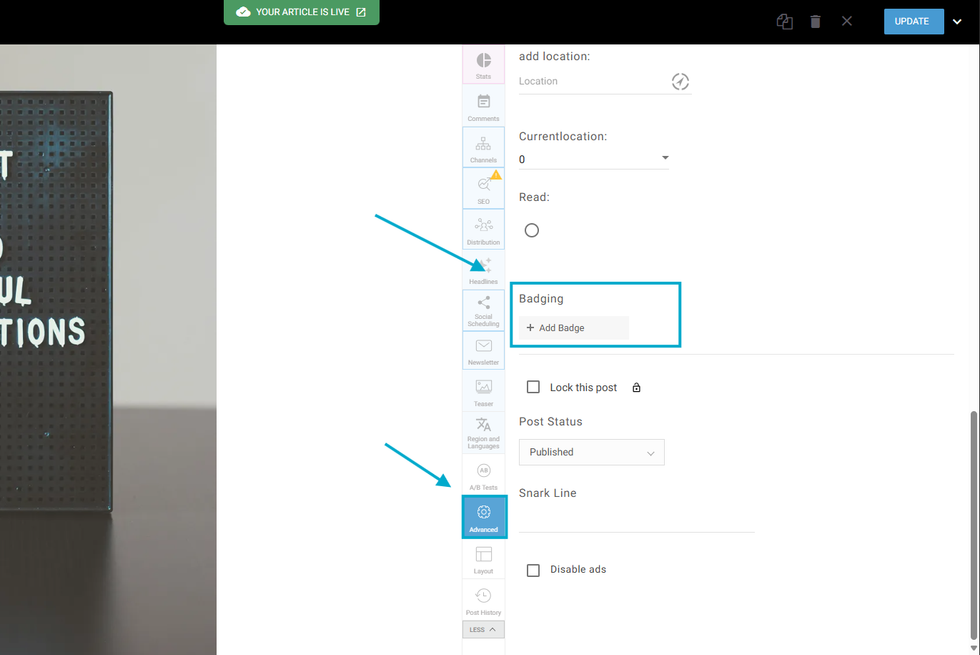
For badges to appear, you must assign them to posts in the Entry Editor while creating the content. If you haven’t done this yet, don’t worry — you can still edit older posts to add badges. To assign a badge, go to the Advanced tab in the right-hand navigation menu of the Entry Editor. Look for the gear icon, then find the Badging field.
Tags on Badges

Assigning a Tag to a badge will allow you to automatically add a badge to a post by adding the same tag that is associated with the badge in the Badges Dashboard. As a reminder, you can add tags via the Channels tab in the right-hand navigation menu of Entry Editor.
If you'd like to make any changes to your Badges in the dashboard, please take note that the posts already containing these badges will have to be updated to see the new changes.
Table of Contents


© 2025 RebelMouse. All rights reserved.
Comments Moderation Tools